Some Design Inspiration For Pine Paneling
With a high ceiling featuring pine paneling, the space will feel more welcoming and homey. Natural pine’s warm tones constrict the sight, making distant places seem closer. Installing this paneling is sure to transform an area that had previously seemed gloomy and dry by making it richer and aesthetically pleasing.
You can make eye-catching bookshelves by installing pine wall paneling at the back of each shelf or nook. Almost anything you put there will look better, and this small detail may make a big difference in the look of your home.
Installing pine paneling around and over open doorways is another way to use it as an accent piece. There is a visible and actual opening as a result of this. In addition to enticing you inside, it also enhances the space on either side of the door.
Consider knotty pine paneling.
Despite its flaws, knotty pine’s merits cannot be denied. A great natural choice for home decor because of its rustic look.
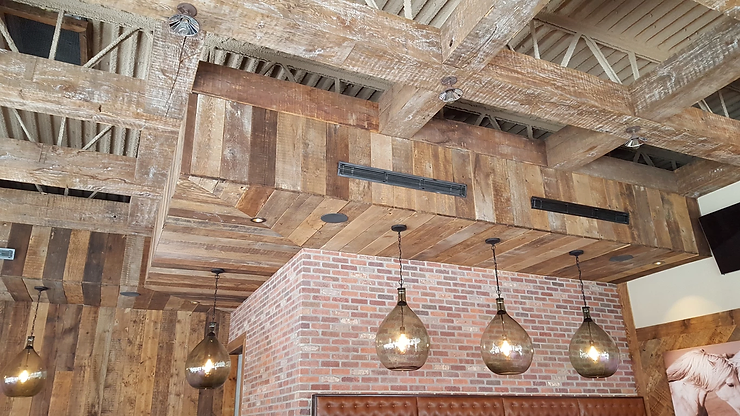
A wood wall or ceiling can be incorporated into a single room or the complete house in a variety of looks. Different designs for the ceiling and walls are possible. This style of paneling comes in a variety of ways, including horizontally, vertically, or at a 45-degree angle.
How to DIY pine wall paneling?
Gather your supplies. You’ll need the following:
2. Begin measuring
To estimate the amount of space required, measure the length of your wall. Check your measurements at least three times with a tape measure to make sure you’re on the right track. If you don’t remember, write them down. Before you start putting your panel wall together, make a rough sketch of what you want it to look like.
3. Secure the panels.
Make sure your panels are securely attached.
To begin, install your foundation row. Using a brad nailer, shoot two nails into the board in line with your studs.
Start adding the top rail once you’ve finished attaching the base rail. Your side stiles, which should fit between your top and bottom rails, can now be installed. Before you nail them down, use a spirit level to make sure they’re even.
Finish installing the stiles one at a time, and then put horizontal rails in between each one to complete the project.
Once you’ve completed the first panel, you may move on to the next one.
You may need to trim the height of your final row, so make sure to measure it and use a jig saw to cut the straight lines before installing.
Your paneling may have some holes in it. For a smooth finish, apply caulk and allow it to dry.
4. Primer
If you desire to finish the boards rather than leave them natural, then consider these steps. Preparing the hardwood surface with an oil-based primer is essential for a long-lasting finish. Apply your primer coat to the wooden sections of your paneling with A foam roller Use a tiny brush to get into the nooks and crannies. Then wait for the primer to dry.
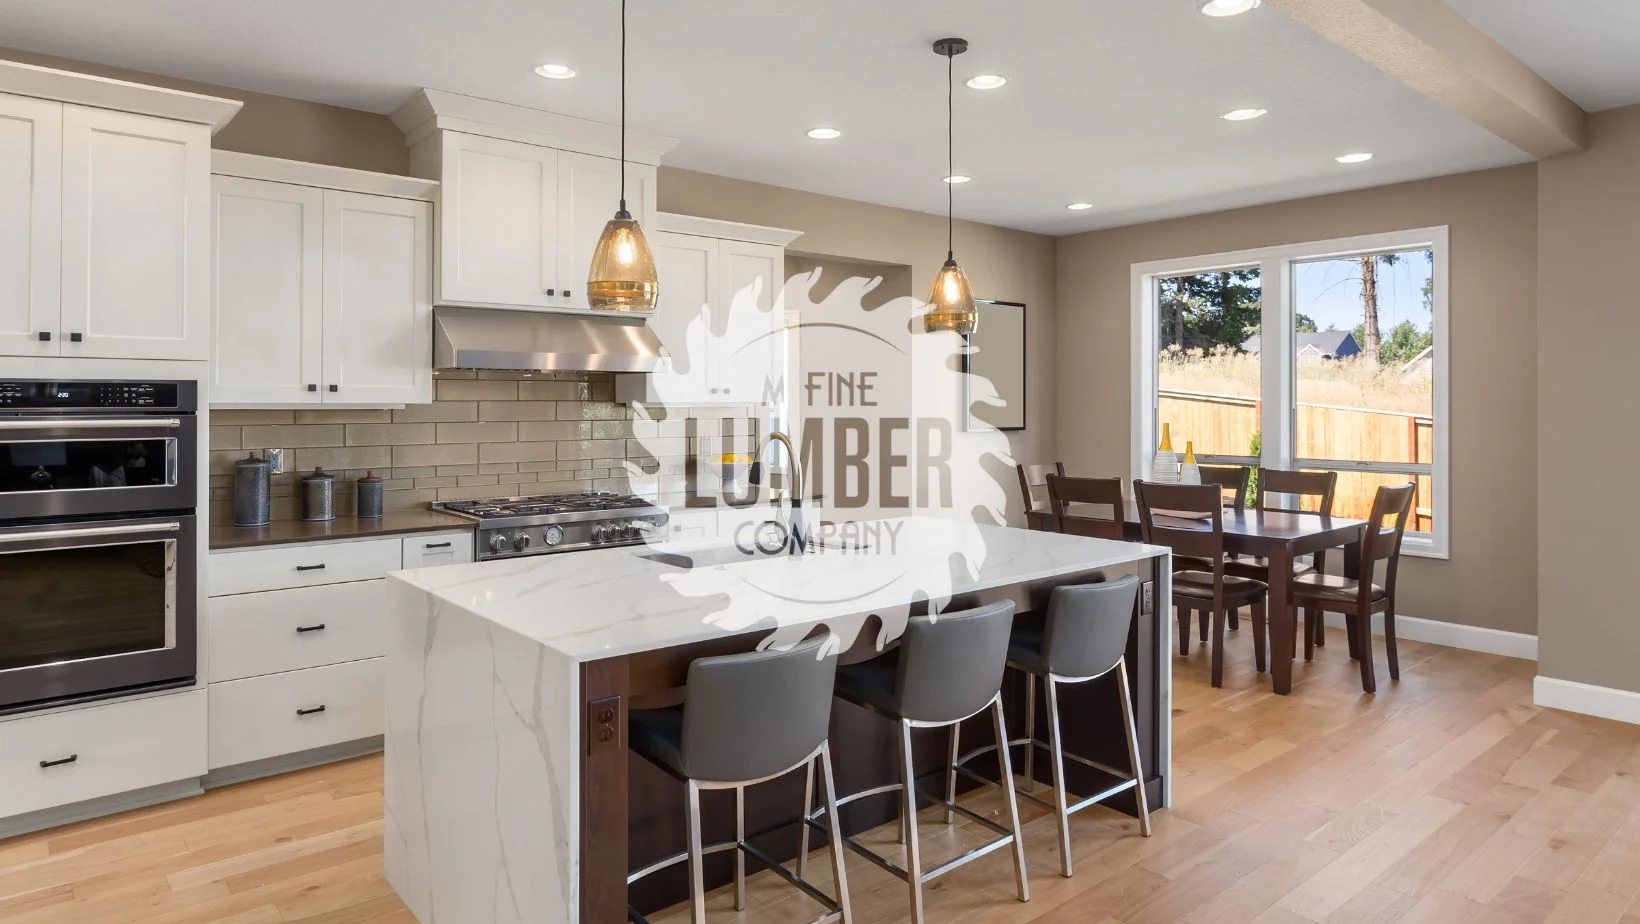
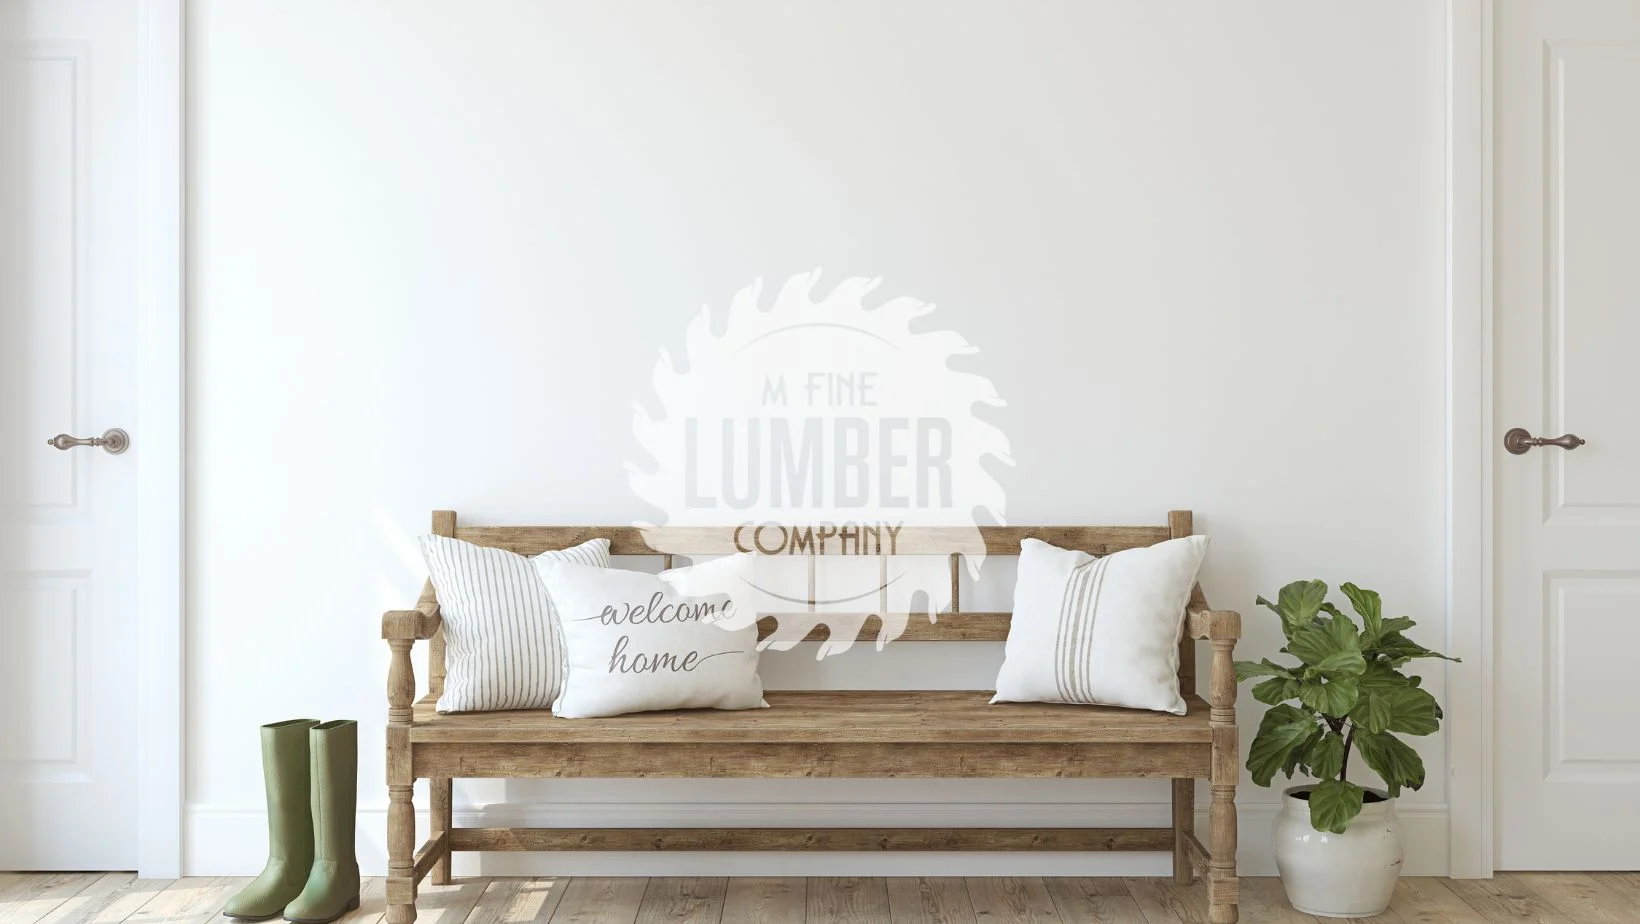
Any area may benefit from the addition of wood paneling for its appeal, character, and warmth. It might also help you feel more relaxed and at ease. Because of its soft, warm tones, adding pine paneling to your rooms’ walls or ceilings may instantly transform them and add a touch of elegance because of its soft, warm tones.
If you’re considering incorporating pine paneling into your interior design, do not hesitate to reach out to us. We’d be delighted to help you improve your space.