Installing vinyl flooring over ceramic tile can be a practical and cost-effective way to update the look of your space without the hassle and expense of removing the existing tile. With proper preparation and installation techniques, you can achieve a beautiful and durable result. Here’s a step-by-step guide to help you through the process:
1. Assess the Condition of the Ceramic Tile
Before proceeding, inspect the ceramic tile to ensure it’s in good condition. Any cracks, chips, or uneven areas should be repaired or leveled before installing the vinyl flooring.
2. Clean the Ceramic Tile
Thoroughly clean the ceramic tile surface to remove any dirt, dust, grease, or other residues. Use a mild detergent and water solution or a specially formulated cleaner suitable for ceramic tile.
3. Sand the Ceramic Tile
If the ceramic tile has a glossy finish, consider lightly sanding the surface to create a better bonding surface for the adhesive. Use fine-grit sandpaper and then wipe away any dust with a damp cloth.
4. Apply a Primer (Optional)
Depending on the type of vinyl flooring and adhesive you’re using, applying a primer may improve adhesion. Follow the manufacturer’s instructions for the specific primer product you choose, and allow it to dry completely before proceeding.
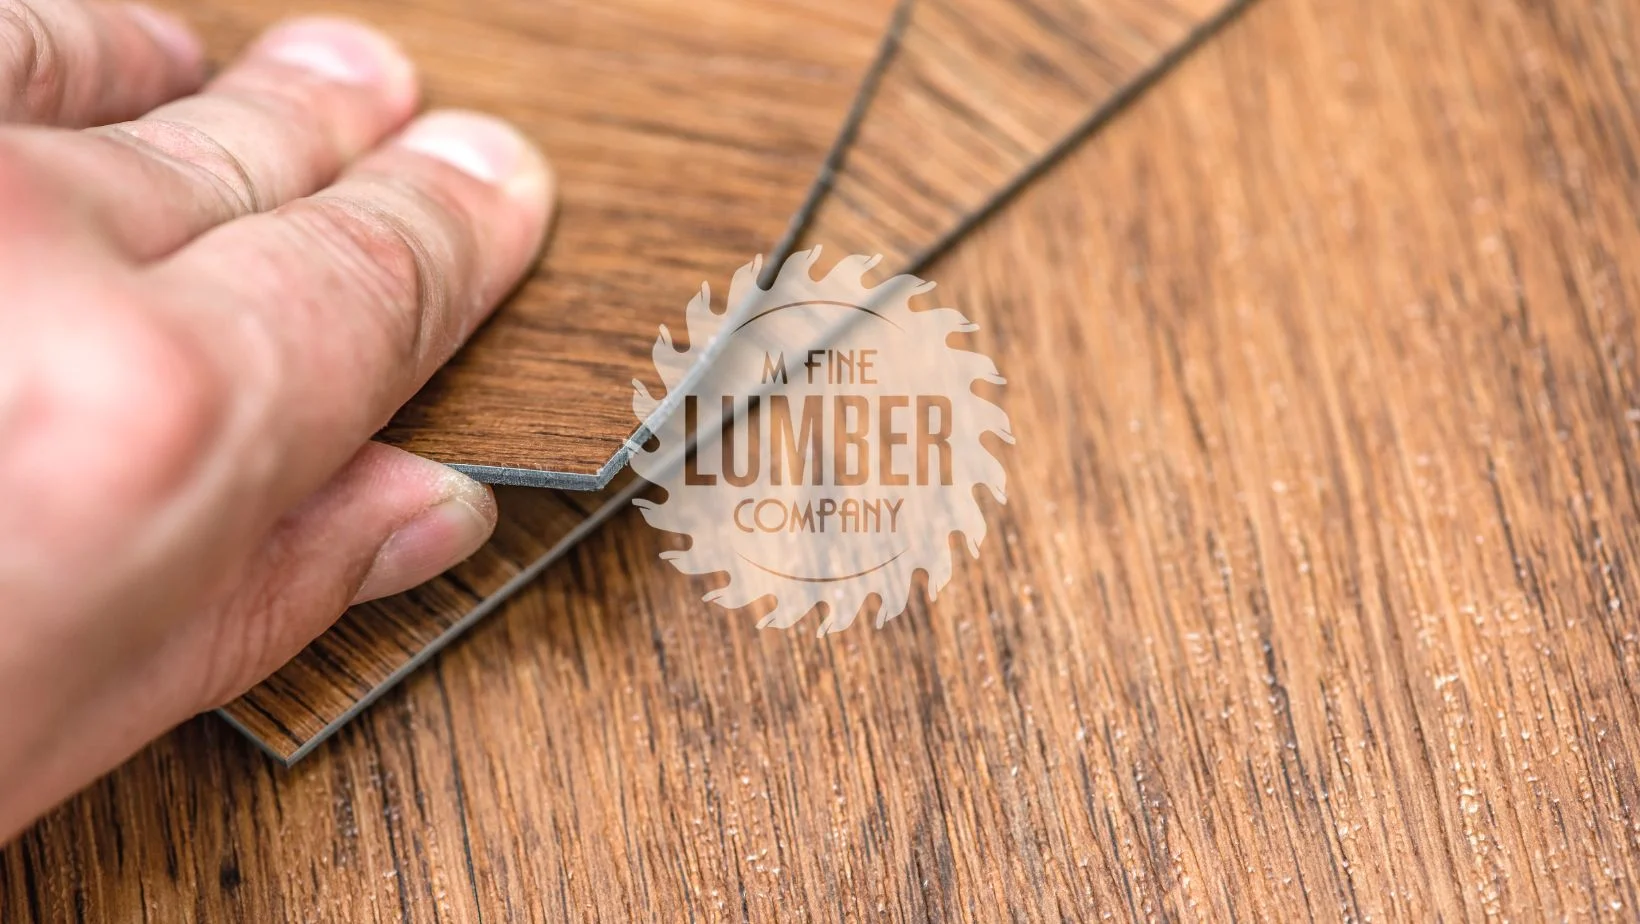
5. Measure and Cut the Vinyl Flooring
Measure the dimensions of the room and cut the vinyl flooring to fit using a utility knife and straightedge. Leave an extra inch or two along the edges to accommodate any adjustments during installation.
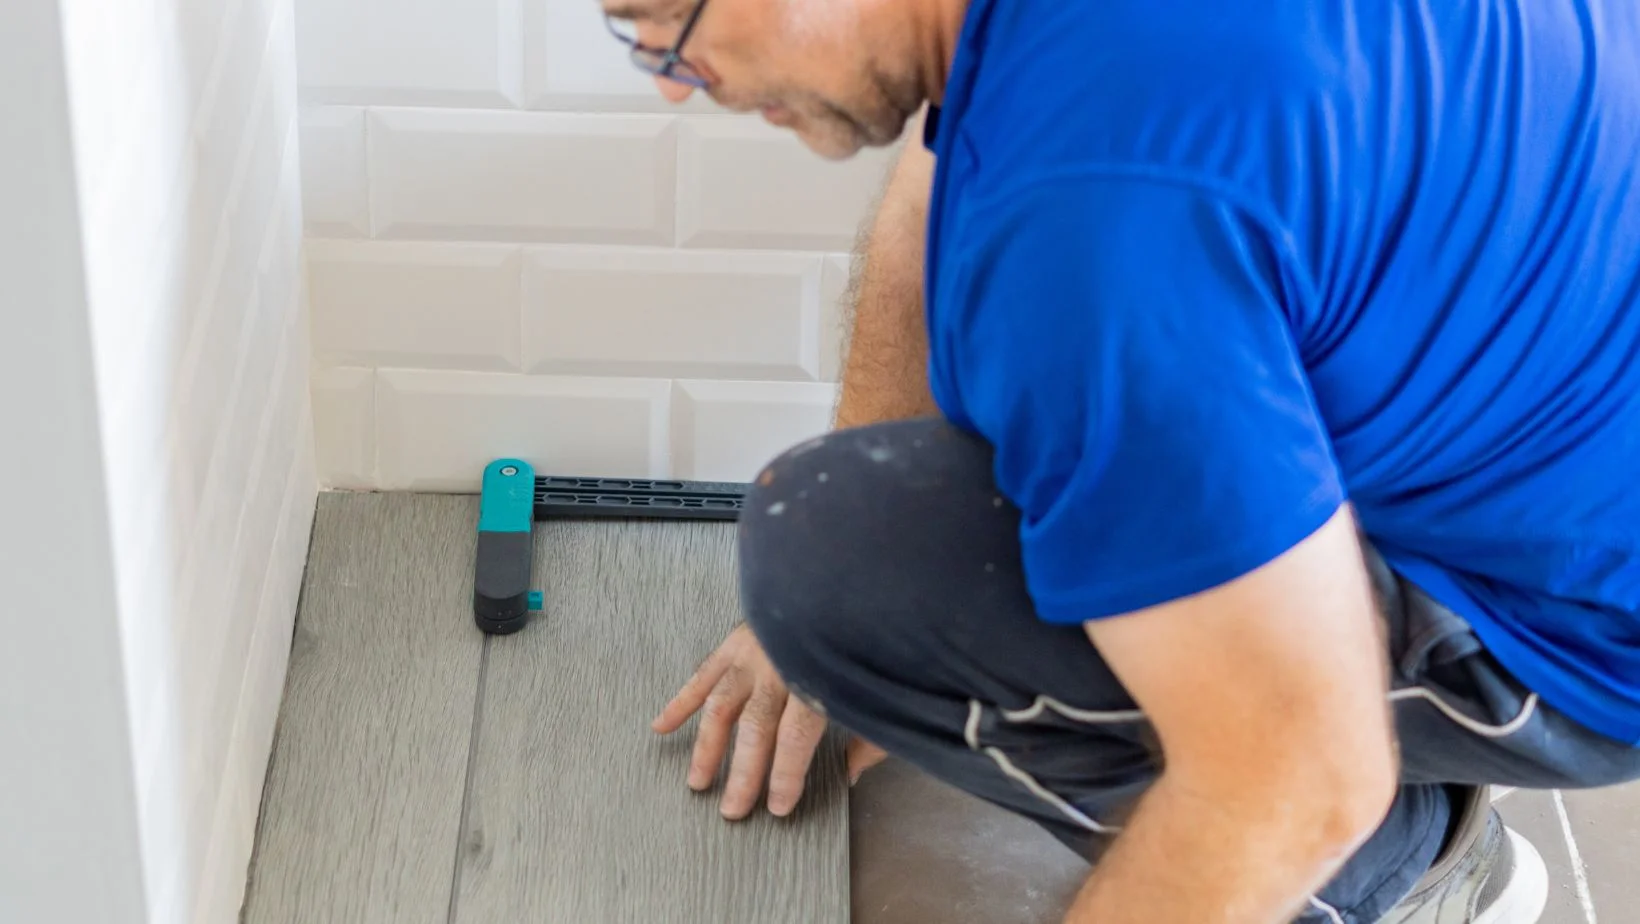
6. Dry-fit the Vinyl Flooring
Lay out the vinyl flooring in the room without adhesive to ensure it fits properly and aligns with walls and obstacles. Make any necessary adjustments to the cuts or layout before proceeding.
7. Apply Adhesive
Apply a thin, even layer of recommended adhesive to the back of the vinyl flooring and to the ceramic tile surface. Follow the manufacturer’s instructions regarding application techniques, drying time, and coverage.
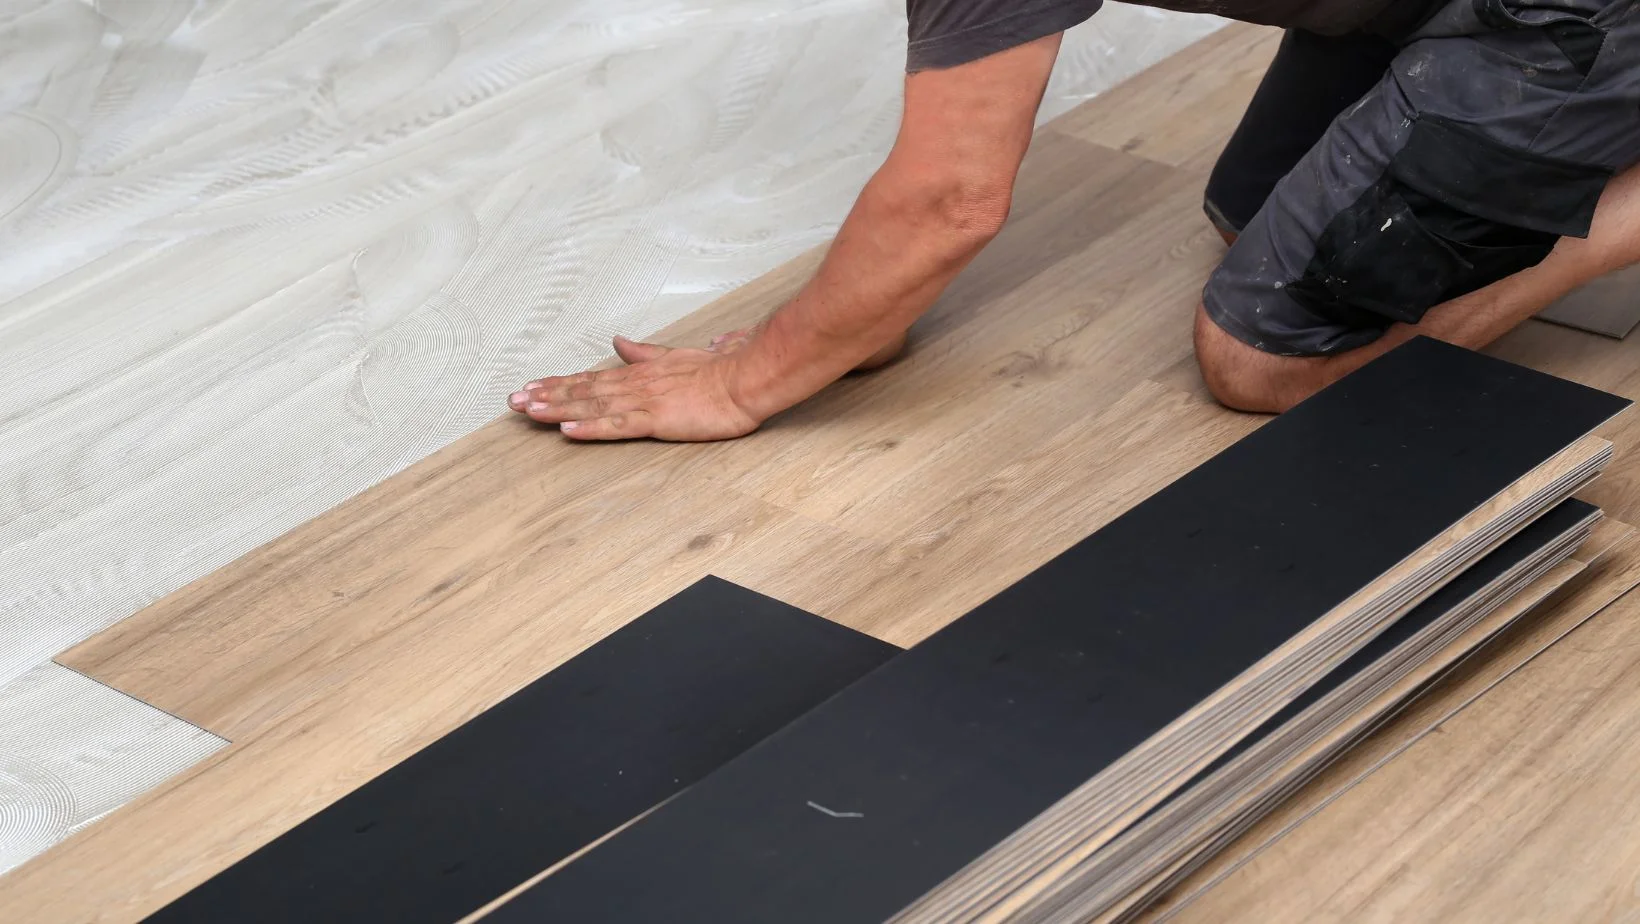
8. Install the Vinyl Flooring
Carefully place the vinyl flooring onto the ceramic tile surface, starting from one corner and working your way across the room. Use a roller or hand roller to press the flooring firmly into the adhesive and remove any air bubbles or wrinkles.
9. Trim the Edges
Once the vinyl flooring is installed, trim any excess material along the edges using a utility knife and straightedge. Be sure to leave a small gap around the perimeter to allow for expansion.
10. Allow the Adhesive to Cure
Allow the adhesive to cure according to the manufacturer’s recommendations before walking on or moving furniture onto the vinyl flooring. This typically takes 24 to 48 hours.
11. Seal the Edges
To provide additional protection and prevent moisture infiltration, consider applying a silicone sealant along the edges of the vinyl flooring where it meets walls or baseboards.
By following these steps and taking proper precautions, you can successfully install vinyl flooring over ceramic tile, transforming your space with a fresh new look. However, it’s essential to note that the success of the installation depends on the condition of the ceramic tile, the type of vinyl flooring and adhesive used, and the thoroughness of the preparation and installation process. If you’re unsure or uncomfortable with any step of the process, consider consulting a professional installer for assistance.