There’s something about fixing up a house that just feels satisfying—like you’re really making it your own. And, DIY projects can be a great way to save money on home repairs and renovations. But, before you start tearing down walls or hammering in nails, there are a few basic nailing techniques that everyone should know. This guide will teach you the proper nailing techniques so that the nails hold strong and don’t pull out over time. With these tips, you’ll be able to confidently take on all sorts of projects!
Start With Choosing the Appropriate Hammer
Tack hammer: A tack hammer is a small hand tool used for driving tacks into wood or other materials. It has a short, slightly curved handle and a small, flat head with a point on one end and a flat surface on the other. The flat surface is used for pushing tacks into place, while the pointed end can be used for removing them.
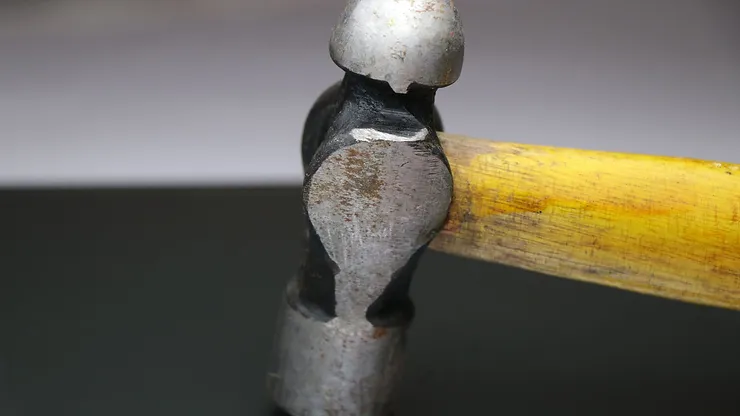
Ball peen hammer: This is a hand tool used to shape metal. The head of the hammer is spherical, and the opposite end is flattened. The flattened end is used to strike nails or drive rivets while the rounded end can be used to create dimples and dents.

Mason hammer: A Mason hammer is a type of tool that is used for breaking up masonries, such as bricks or concrete. It typically has a pointed head that is made of steel, and the handle is usually made of wood or metal.
Drywall hammer: The head of the hammer is flat, with a rounded edge, and the handle is usually made of wood or plastic. The flat head is used to lightly tap drywall screws or nails into place, and the rounded edge can be used to smooth out imperfections in the drywall.
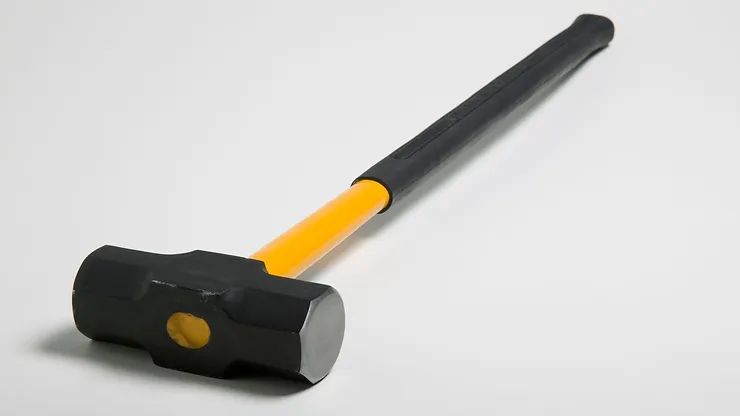
Sledgehammer: A sledgehammer is a large, heavy hammer designed for striking large objects, such as rocks or chunks of concrete. A sledgehammer’s head is usually much larger than that of a standard hammer, and the handle is usually longer as well. This gives the wielder more leverage and power, making it possible to deliver a powerful blow. Sledgehammers are often used in construction or demolition work, as they can easily break through brick walls or concrete slabs.

Face nailing is a simple process involving hammering nails through the face of the wood board through the second one. However, this technique doesn’t result in the strongest joints. This exposes the nail heads, but they may be covered up afterward depending on the kind of job and the desired results.
This technique is typically used for:
Installation or repair of trim around walls and doors
Installing or repairing decorative molding around windows or ceilings
Attaching stair stringers to stairs
This technique is typically used for:
Installation or repair of trim around walls and doors
Installing or repairing decorative molding around windows or ceilings
Attaching stair stringers to stairs
Toe-nailing is a method in which two nails are inserted into the work material at opposing 45-degree angles. Slant-nailing is another name for this method. Toe-nailing, although not appropriate for making joints, creates a stronger connection than face-nailing.
This technique is typically used for:
Internal framing
External framing
Connecting wall studs to sole plates
To make a solid joint, dovetail nailing needs two nails driven at opposing angles. Dovetail nailing, as opposed to toe-nailing, is done on the material’s face.
This technique is typically used for:
Strengthening loose butt joints
Repair and building of cabinetry, shelves, and drawers
Building or repairing furniture
Blind nailing is a way to join two pieces of wood together with small, hidden nails. It is most often used to install tongue-and-groove hardwood floors or shiplap wall panels. Typically, you will nail a board down, then place the next board over the nail, essentially covering the nail completely. This method is typically used for projects where the nails will not be seen, making it a popular choice for high-end residences and commercial settings.
This technique is typically used for:
Installation or repair of hardwood floors, wood walls, wainscotting, crown molding, and shoe molding

Are you planning on renovating your home this year? Make sure to follow these tips to ensure a stress-free project. By planning ahead and being prepared for the unexpected, you can minimize the chances of things going wrong. We hope these tips help make your home renovation project a success! So what are you waiting for to get started? Go nail it!
