get a free quote

DIY Fireplace Remake With This Golden Guide

The fireplace, or any architectural structure able to contain a fire, has been a cozy and inviting part of homes for centuries. Once solely used for heating and cooking, the fireplace has evolved to become a central element of interior design and home decor. But what if your fireplace is outdated, dull, or simply doesn’t match your style? Fear not! With some creativity and elbow grease, you can transform your fireplace into a stunning focal point for your home. This blog post will provide some genius DIY fireplace remake ideas that will add personality, charm, and warmth to your living space.

Importance of a Beautiful Focal Point in a Living Space

In many houses, the fireplace is the main attraction, the element that sets the tone for the entire space. A fireplace is a great way to add character to your home and make it feel more welcoming for guests and family alike. On the other hand, if your fireplace is old, it may give the impression that the room’s care has been neglected. Improving the look of your fireplace is a great way to increase your home’s appeal and value.

Focal Point in a Living Space

Step 1: Planning Your DIY Fireplace Makeover

Budgeting is essential for a successful do-it-yourself fireplace renovation. Create a spending plan that allows for both anticipated and unexpected expenses. Think about the market value of your home and how a modernized fireplace could affect it.

Your living room’s fireplace should look like it was always meant to be there. Think about using steel or glass for a contemporary look in your room. Wood mantels with stone fireplace surrounds are great options for a more classic room. Keep in mind that you want the finished product to complement the existing decor.

Step 2: Choosing the Right Materials

Choosing the right materials is critical for the success of your project. Wood mantels add warmth and a classic touch but may require regular maintenance. Stone fireplace surrounds offer a timeless, natural look but can be both difficult and expensive to install. Tile surrounds are versatile, available in countless designs, and easier to clean, but they may not provide the same level of sophistication as stone or wood.

You can purchase fireplace makeover materials from a variety of online and brick-and-mortar stores. Home improvement stores like Home Depot or Lowe’s offer a wide selection of options. Additionally, specialty retailers such as Wayfair and Pottery Barn sell unique pieces that could add character to your fireplace.

fireplace makeover materials

Step 3: Preparing for the Makeover

Before starting the makeover, thoroughly clean your fireplace. Remove dust, soot, and cobwebs from the surface to ensure a smooth application of paint or adhesive. Use a solution of warm water and mild detergent for most surfaces. For stubborn stains on brick or stone, consider using a specialized cleaning solution.

Safety should always be a priority when undertaking a DIY project. Wear protective gear, such as gloves and safety glasses, when cleaning or sanding. Keep flammable materials away from your work area. If you’re working with a gas or electric fireplace, ensure it’s off and completely cool before starting your project.

Step 4: Painting the Fireplace

The results of a single coat of well-chosen paint on your fireplace will be striking. Make sure to select the right paint for the job. Painting the firebox requires high-temperature paint, which can be applied once the surface is dry. Spray paint is convenient since it can be applied evenly and with little effort.

Before painting, make sure the surface is completely dry to get a smooth finish that will last. If you want a professional look, use a high-quality roller or brush. It’s better to use several thin applications than one heavy one when trying to avoid drips and bubbles. Finally, make sure there is adequate time for drying between coats.

Step 5: Installing the Fireplace Insert and Mantel

A fireplace insert makes it look and work better. Make sure the insert fits by measuring your fire before you put it in. Then, mark how high the wall is to find a good place for it.The top is held up by this piece of wood. Before you screw the top onto the board, make sure it’s level. Lastly, check the item you buy is safe and passes local building codes. Then, follow the manufacturer’s instructions on how to safely attach a gas or electric insert to the power source in the fireplace.

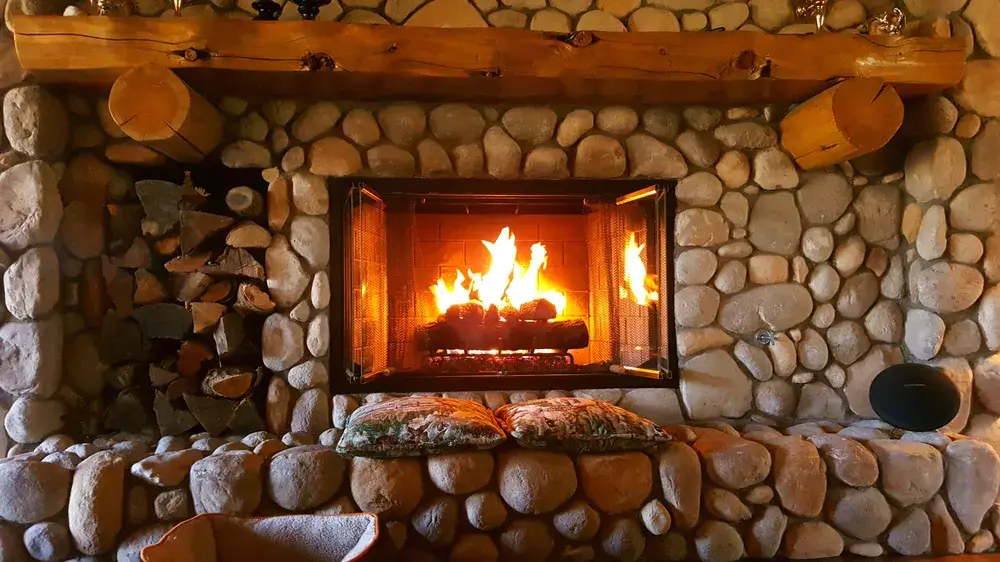
Step 6: Adding Final Touches

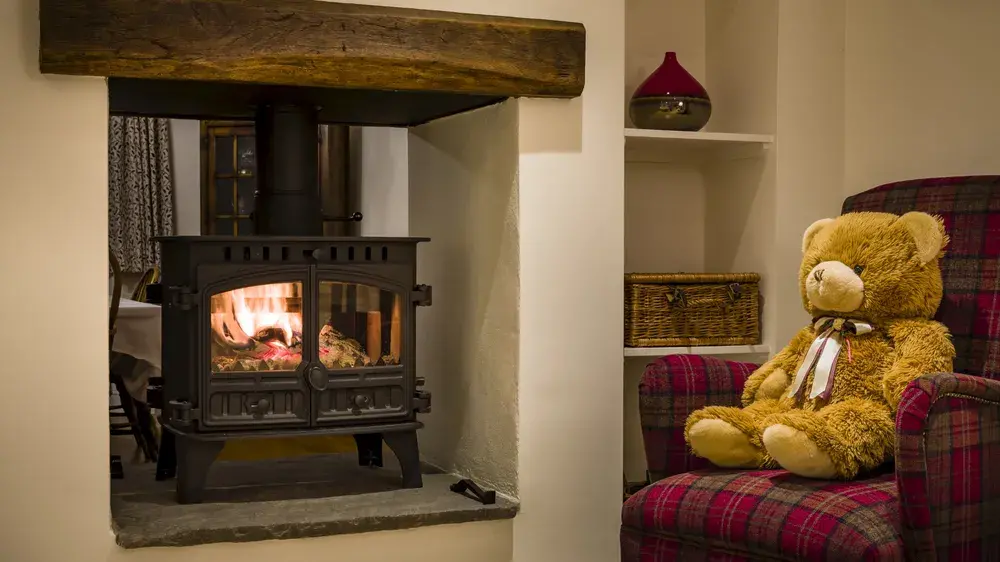
It’s time to put the finishing touches on your fireplace renovation. Add some flair to your mantel with some candles, pictures, and seasonal decorations. An attractive mirror or painting hung over the hearth might serve as the focal point of the room. Don’t overlook the fireplace itself; a quality screen or good-looking stack of logs may do wonders for the room’s ambiance.

You should be proud of your renovated fireplace. Move the sofa and chairs so that they face the hearth, highlighting your handywork. Put lamps on the mantle or hang lights above it to draw attention to the fireplace. Finally, remember to clean and maintain your fireplace often to keep it looking its best.

finishing touches on your fireplace renovation

In summary, transforming your outdated fireplace into a beautiful focal point involves planning the makeover, choosing the right materials, preparing for the work, painting the surface, installing the fireplace insert and mantel, and adding final touches. Each step requires careful consideration and execution but can lead to a rewarding result: a stunning fireplace that enhances your home’s beauty and value.

Leave a Reply

Your email address will not be published. Required fields are marked *

On Key

Related Posts