ave you ever wondered whether you should caulk between your floors and baseboards? Wonder no more! In this blog post, we will explore the benefits of caulking and show you how to do it yourself. So read on and learn all about caulking between your baseboard and flooring!
Caulking is required if there is a gap of at least one-eighth of an inch between the flooring and the baseboard. This helps to protect them from moisture and dust. Caulk should ideally be applied to solid surfaces such as stone, wood, and other similar materials for the best results.

Protect Your Flooring from Water Damage
Water from outside rain, water heaters situated in the attic, and neighboring plumbing lines may all leak into your flooring from behind the walls. Water damage may be one of the most costly house repairs a homeowner can undertake.
Caulking can prevent water from leaking onto the floor and warping and swelling the floorboards. Additionally, it may prevent the same damage from occurring to the trim itself. If moisture is left on hardwood trim or flooring for too long, it can cause the wood to rot.
Most households will eventually have to manage some kind of insect problem. It can be quite difficult to eliminate an infestation once it has entered the house. Sealing gaps and cracks is one of the most effective methods for preventing pests from reaching your property.
Sealing the space between the trim and the baseboard is more aesthetically pleasing than leaving the space open with holes. Adding a layer of caulk will serve to smooth the transition between the floorboard and the trim, and you can even purchase colored caulk to make it flow more naturally. Usually, if a space is left unfilled, it might give the impression of an unskilled installation.
Thoroughly clean the floor. Using a vacuum to remove any dust and debris from between the gaps is recommended. Drag a pocket knife or a very thin, stiff wire-bristled brush down the borders between the boards to remove the previous fill. This is not a whittling endeavor, so don’t brush too hard or gouge with the knife. Protect the wood surface with a taped-down cloth if you’re using the brush. Drag the debris away from the caulk’s adhesion points.

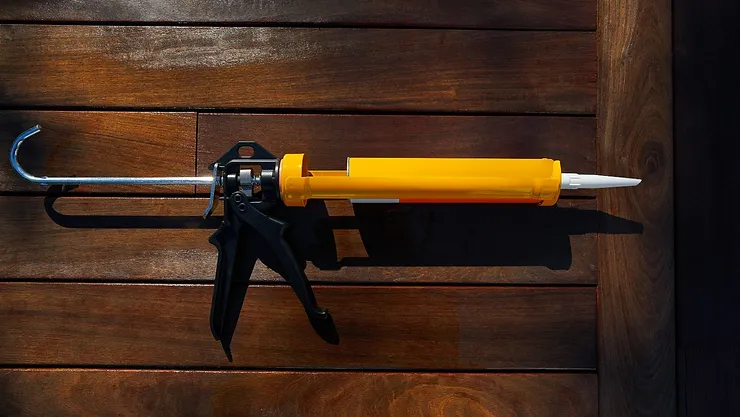
Install the tube into the caulking gun in a manner that prevents it from shifting or falling out. Using a sharp knife, cut the caulking tube’s applicator tip at a 45-degree angle. Cut away any plastic splinters surrounding the opening, as they will make the caulk seem untidy and unattractive if they are not removed.
Pump the presser rod until the caulk reaches the edge of the applicator tip. Hold the tube at a 45-degree angle against the board joint, with the longer section of the applicator tip pointing up and the opening facing down.
Pull the caulk gun’s trigger to shoot a thin line of caulk deep into the joint while dragging the caulk tube along the joint’s length. Maintain a regular pace to avoid a thick or lumpy caulk application. Refill the caulking gun as required; one tube will typically not be enough to seal the whole floor.
If any floor caulk gets onto the exposed side of the boards, remove it right away using a clean towel. Don’t put it off until you’ve completed the rest of the board.
Caulking the floors should be left to cure. You should refrain from walking on the floor at this time to prevent dirt from getting into the floor.

So, is caulking between the floor and baseboard a good idea? The answer is yes! Caulking will help to seal any gaps that may exist, which in turn will help to keep pests, moisture, and air from infiltrating your home. It’s an easy way to improve the insulation of your home and can be done in just a few minutes.
