Woodworking projects often require the use of screws to join pieces together, but the visible presence of these fasteners can detract from the overall aesthetic appeal of the finished product. Unsightly screws can be hidden in a variety of ways in wood, allowing for a smooth and polished final product. Whether you are a DIY enthusiast or a seasoned woodworker, learning how to hide screws in wood can elevate the quality and visual appeal of your woodworking projects. This article explores different methods, tools, and considerations for hiding screws in wood, providing you with the knowledge to achieve a clean and polished finish on your next woodworking endeavor.
The Importance of Concealing Screws in Woodworking Projects
Covering screws in woodworking projects is more than just an aesthetic choice. When you hide the screws, it allows the natural beauty of the wood grain and color to take center stage without the disruption of visible metal fasteners. This not only gives your project a clean and professional finish but also elevates its perceived quality and value.
To begin, you will need a few tools and materials. These include screws suitable for your project, a drill with a countersink bit, wood plugs or homemade wood filler made from sawdust and wood glue, a chisel, a hammer, and sandpaper. You may also need a trim board and pocket hole jigs for specific methods of hiding screws.
1- Preparing the Wood
Choose the right screws for the project
Choosing the right screws is crucial for any woodworking project. The type, size, and material of the screw should be compatible with the type of wood you’re working with. In general, wood screws are preferred as they are designed specifically to bind with wood fibers, providing a secure hold.
Position the screws correctly
Once you have chosen the appropriate screws, positioning them correctly is key. Think about where the screws will be least noticeable. For instance, screws can be placed at the back, bottom, or inside of furniture pieces where they are less likely to be seen.
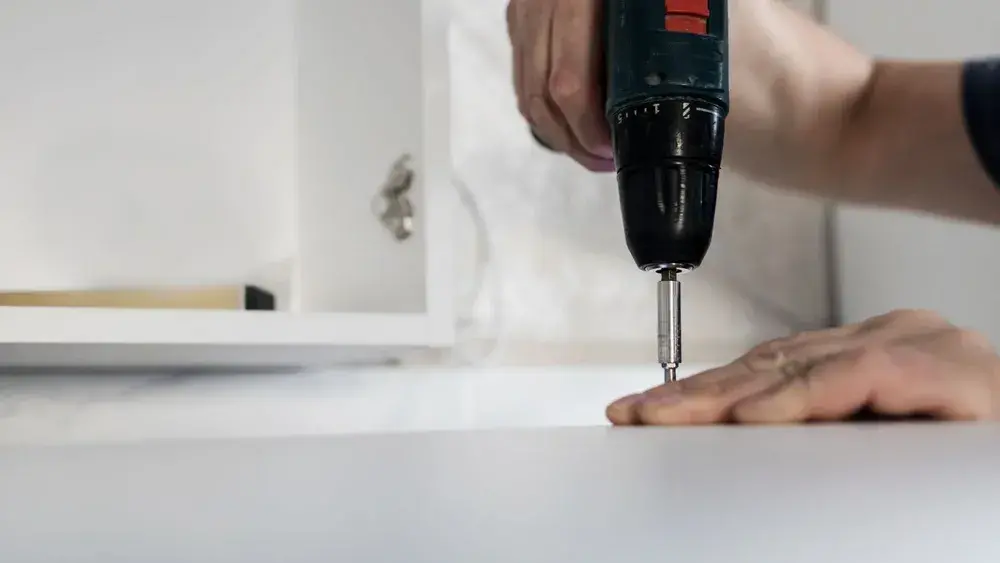
Use a countersink drill bit for pre-drilling
Before you put the screws into the wood, make sure the holes are countersunk. This makes a conical hole around the pilot hole for the head of the wood screw, making it possible to place the screw flush with or just below the surface of the wood. This widely used method is simple and efficient.
2- Covering Screws with Wood Plugs
Make wood plugs using a plug cutter
Wood plugs offer an effective way of hiding screw heads in wood. You can make these plugs using a plug cutter. The advantage of making your own plugs is that you can match them to the exact species of wood you are working with, ensuring a seamless blend.
Insert the wood plugs into the screw holes
Once you’ve made the plugs, insert them into the screw holes. Use a small amount of wood glue to secure them in place. Ensure that the grain direction of the plug matches the grain direction of the piece you’re working on for a flawless finish.
Secure the plugs with wood glue
Apply a dab of wood glue to the base of the plug before inserting it into the hole. Once the plug has been inserted, give it a gentle tap with a hammer to ensure it sits flush with the surface. Allow the glue to dry before moving on to the next step.
3- Using a Piece of Wood to Hide Screws
Choose the right piece of wood
This method is particularly useful when you need to hide a long line of screws. Choose pieces of trim wood that match the rest of your project. The trim should be long enough to cover the entire line of screws.
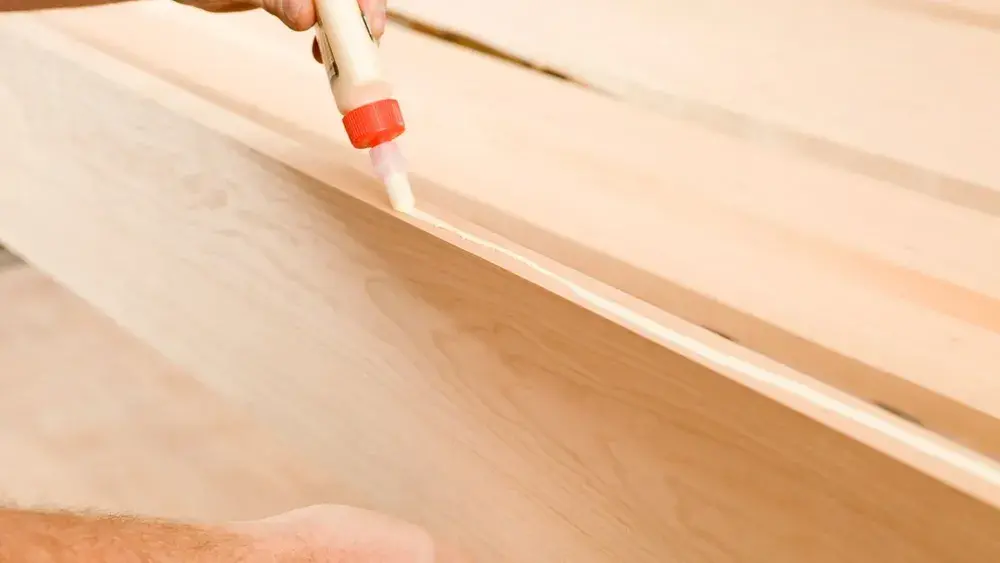
Attach the piece of wood over the screws
Apply wood glue to the back of the trim and press it over the line of screws. To ensure a secure bond, clamp it down overnight to allow the glue to set completely. Alternatively, you can attach the trim using small nails from a brad nailer. These nails are so small, they are unnoticeable to the casual observer.
Finish the surface for a seamless look
After the glue has dried, sand the surface of the trim and the surrounding area until smooth. This will help to blend the trim with the rest of the piece, creating a seamless look. Finally, apply a finish to protect and enhance the wood’s natural beauty
4- Concealing Screws with Wood Filler
Select the right color of wood filler to match your wood
Another effective way of hiding screws in wood is by using wood filler. Choose a filler that blends seamlessly with your wood to closely match the color of your project. You can even create a homemade wood filler by mixing sawdust from your project with wood glue.
Apply the wood filler to the screw heads
Once you’ve mixed up your wood filler, apply it to the screw heads using a putty knife. Be sure to overfill the holes, as the filler will shrink as it dries. Allow the filler to dry completely before proceeding to the next step.
Sand the surface for a smooth finish
After the filler has dried, sand the surface until it is flush with the rest of the wood. This will leave you with a smooth and screw-free surface that’s ready for finishing.
5- Hiding Screws with Pocket Holes
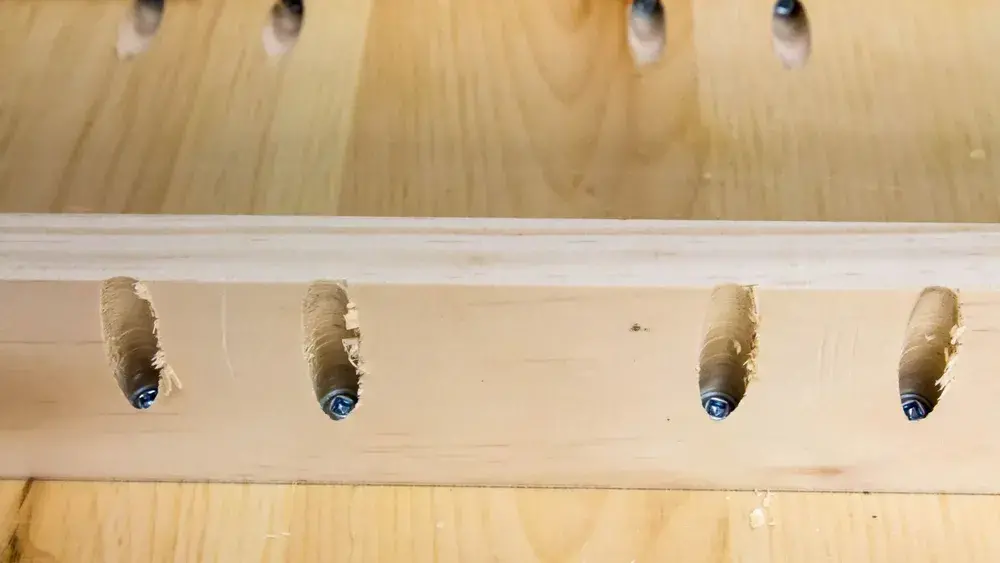
Understanding what pocket holes are
Pocket holes provide another clever way of hiding screws in wood. A pocket hole is essentially an angled hole drilled into one board, allowing you to drive a screw through it and into another board. The hole is then filled with a wooden plug or cap to hide the screw.
Creating pocket holes to hide screws
To create pocket holes, you will need a special jig. The jig guides the drill bit at the correct angle to form the pocket hole. Simply clamp the jig onto your board and drill the hole.
Finishing the pocket hole covers to blend with the rest of the wood
Once the screw is in place, fill the pocket hole with a wooden plug or cap. Once the glue has dried, sand the surface until it is flush with the rest of the wood. Apply a finish to blend the plug or cap with the rest of the piece.
Maintenance and Care Tips
Check regularly for exposed screws
Over time, due to the natural expansion and contraction of wood, screws may become exposed. Regularly check your piece for any signs of this and re-cover the screws as necessary. This not only maintains the appearance of your piece but also protects the screws from potential corrosion.
Maintaining the wood surface to cover screws
Proper maintenance of the wood surface is essential to hide the screws. This includes regular cleaning and dusting to prevent buildup that could expose the screws. Additionally, reapply the finish as needed to maintain the integrity and appearance of the wood.
Dealing with any eventualities such as disengaged wood plugs or fillers
In the case of wood plugs or fillers popping out, remove any loose material from the hole. Then, reapply the wood filler or insert a new wood plug by following the same steps as before. Remember to sand and finish the area after repair for a consistent look.
Learning and perfecting the craft of woodworking is an ongoing process. With time and practice, you’ll learn what strategies are most effective for you as you refine and perfect your own approaches. The thrill of woodworking comes from contributing to and learning from this evolving craft. Therefore, continue to explore, expand your knowledge, and, most importantly, produce stunning work you are proud of.